Introduction
By the time you’re reading this, maybe it’s improved, but at the time of writing, man Tauri’s documentation is sparse! You might know that I’m in the process of building a clipboard manager/note keeping app. One thing that requires is persistent file storage of both images and text files.
After many hours of bashing my head against github code search and the docs, here’s how I got it to work.
Setup
First of all, you need to change your tauri.config.json to give permission for these APIs. In the tauri section of the file, under allowlist, we need to enable the fs and path APIs. Here’s what that might look like.
"tauri": {
	"allowlist": {
		"fs": {
			"all": true,
			"scope": ["$APP/*", "$DESKTOP/*"]
		},
		"path": {
			"all": true
		},
	},
}
Notice how we also need to tell Tauri the scope we’re accessing? The $APP and $DESKTOP are variables injected at runtime, and let you change files and folders in that directory + subdirectories. A full list of the available variables is available here![]() . Also note that you probably don’t want to enable
. Also note that you probably don’t want to enable "all" for the APIs. It makes your app less secure and can inflate the bundle size. I’m doing it here because it makes it much easier for me during development.
Creating a directory
To create a directory, first you need to import the functions.
import { BaseDirectory, createDir } from "@tauri-apps/api/fs";BaseDirectory is an enum that you use to tell Tauri where to do the file operation. For example, BaseDirectory.Desktop would be equal to 6. Don’t make the mistake of using the BaseDirectory to create paths, use the functions in the path module to get, for example, the desktop path with desktopDir().
const createDataFolder = async () => {
  await createDir("data", {
    dir: BaseDirectory.Desktop,
    recursive: true,
  });
};
Next, I create an asyncronous function that calls the function. The first argument is the name of the folder you want to make, so this would create a folder called data on the desktop. If you want to create a folder inside another one, you would use for example data/assets. The second argument are essentially options. The dir property takes a BaseDirectory, and is used as a base path for the first argument, and the recursive property determines whether or not you want multiple folders to be created if a parent folder doesnt exist, otherwise, it returns with an error.
You should probably also wrap this function in a try/except block like so:
const createDataFolder = async () => {
  try {
    await createDir("data", {
      dir: BaseDirectory.Desktop,
      recursive: true,
    });
  } catch (e) {
    console.error(e);
  }
};
Creating and saving to a file
const createDataFile = async () => {
  try {
    await writeFile(
      {
        contents: "[]",
        path: `./data/data.json`,
      },
      {
        dir: dir,
      },
    );
  } catch (e) {
    console.log(e);
  }
};
Very similar to creating a folder, but this time, you pass a contents property, which is what the file will contain. As far as I can tell, there isn’t a way to append text to the end of an existing file, so I guess you have to do a hacky way where you read the file, append to the end of it, then save the whole thing as the contents.
Saving pasted images from clipboard
This was by far the hardest out of the three to wrap my head around, but essentially, I needed to save images the a user pasted into my app.
First of all, I need to grab data from the clipboard. I did this by using the Clipboard API![]() .
.
const getClipboardData = async () => {
  let res;

  try {
    res = await navigator.clipboard.read();
  } catch (e) {
    // there's nothing in the clipboard
    return;
  }

  // return the most recent item
  return res[0];
};
Great! Now we can start putting together the function.
document.onpaste = async function () {
  const pasted = await getClipboardData();

  if (!pasted) {
    console.error("You don't have any data in clipboard.");
    return;
  }

  const imageTypes = ["image/png", "image/jpeg", "image/gif", "image/webp"];

  // using lodash's intersection to check if it's an image
  const isImage = _.intersection(pasted.types, imageTypes).length > 0;

  if (isImage) {
    const imageType = pasted.types.find((type) => imageTypes.includes(type));

    const blob = await pasted.getType(imageType);

    const fileExtension = imageType.split("/")[1];

    // save to file system
    const imagePath = await saveImage(blob, fileExtension);
    // then change the image src
    imageSrc = imagePath;
  }
};
Let’s walk through this function. First, we grab the most recent clipboard item, and check the types to determine whether it’s an image. After that, we grab the matching imageType and call the getType function on the clipboard item. This returns a Blob![]() object. We get the file extension, and finally call a
object. We get the file extension, and finally call a saveImage function which we’ll get to soon.
Wow that’s a mouthful. Anyway, now we have a blob object, how do we save it to the file system? First of all, we need to convert it to a byte array.
const blobToBinary = async (blob) => {
  const buffer = await blob.arrayBuffer();

  return new Uint8Array(buffer);
};
That’s quite simple, isn’t it? Now let’s save it.
const saveImage = async (blob, extension) => {
const desktopPath = await desktopDir();
const bin = await blobToBinary(blob);
// I'm constructing a unique file name here with nanoid,
// but you can replace it with anything!
const fileName = `${nanoid()}.${extension}`;
await writeBinaryFile(
{
contents: bin,
path: `./data/${fileName}`,
},
{
dir: dir,
},
);
// this transforms the path into one that's accessible by the webview,
// so you can use it as an <img src="" />
return convertFileSrc(await join(desktopPath, "data", fileName));
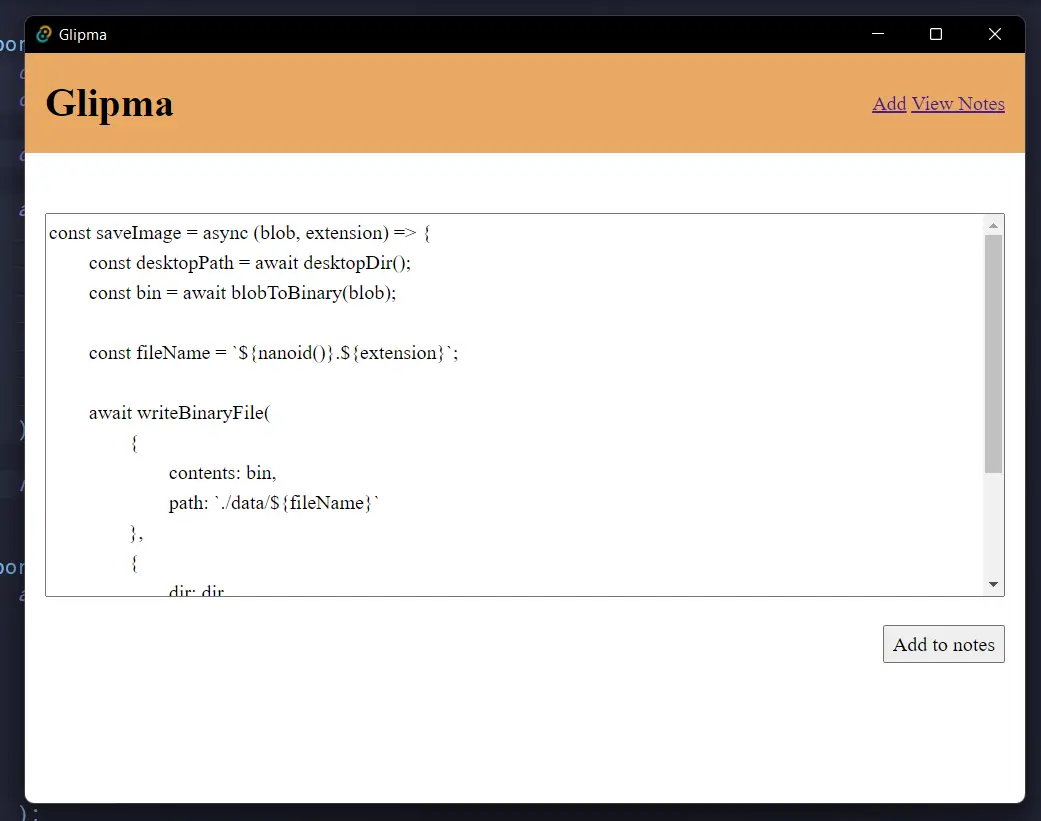
};There you have it! I hope you found this tutorial useful, because it took a long time to learn this, largely because of the cryptic documentation mentioned earlier. Tauri definitely has potential, and everything feels quite instant, the file saving doesn’t cause the app to hang, because it’s all done with the rust backend, leading to a very smooth user experience.
Oh, and if you’re curious, here’s how my app’s going.